
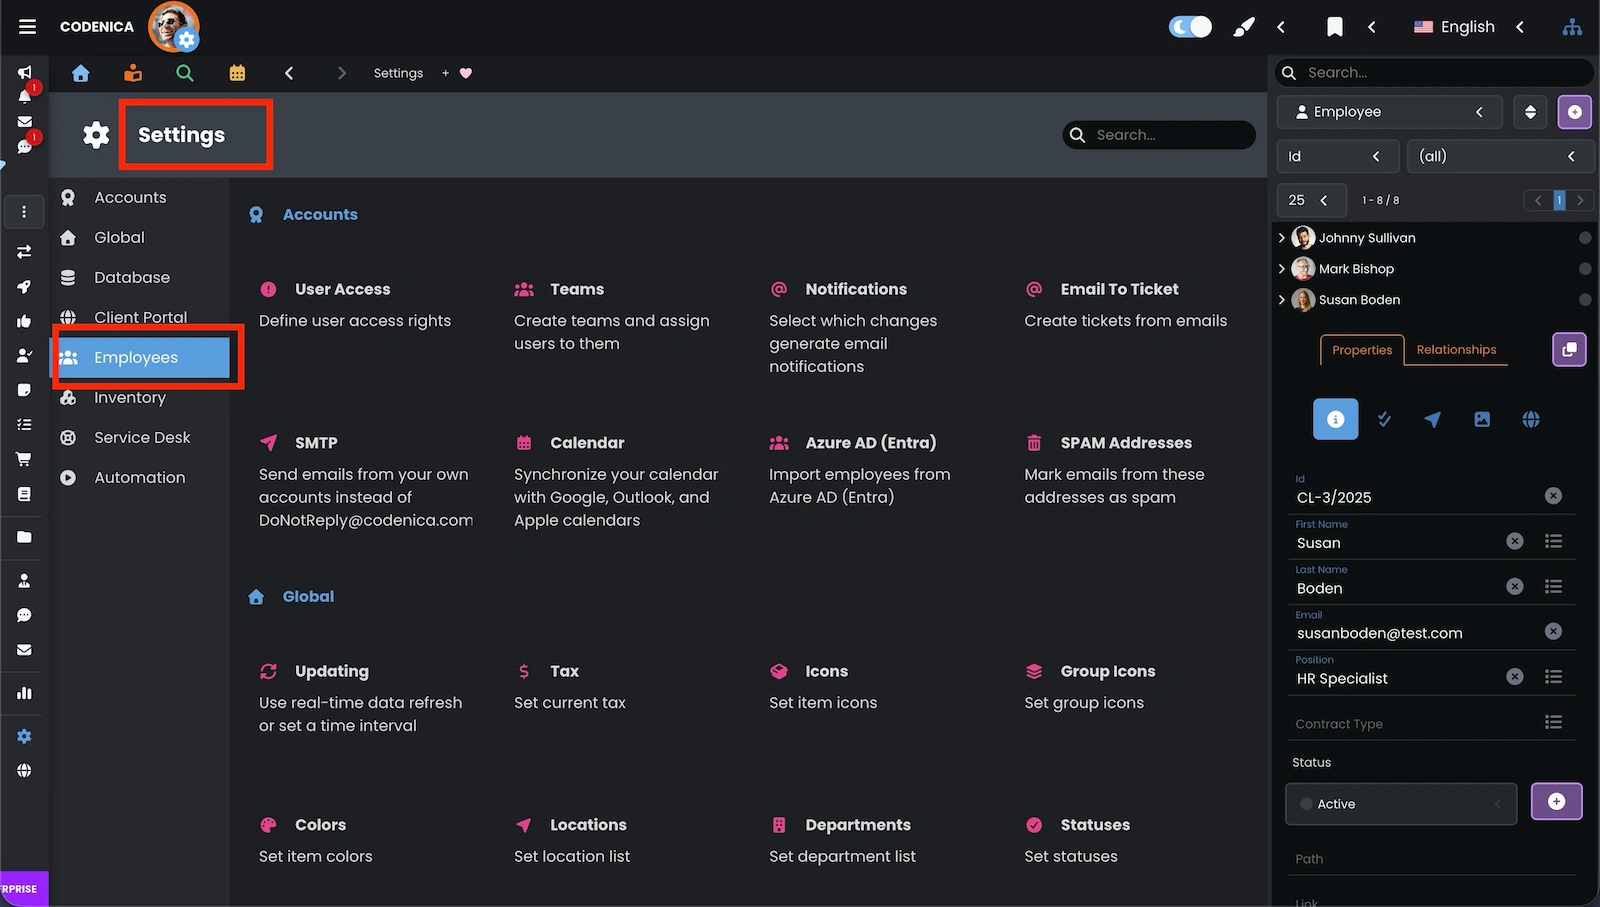
Configuring object properties in Codenica is one of the key steps when adapting the system to your asset management and ticket handling processes. Every manageable object – whether in inventory, asset records, or service tickets – can be precisely customized. Why does this matter? Because properties appear throughout your daily work with equipment, records, and support requests. Below you can see several examples showing what Object Properties actually are.
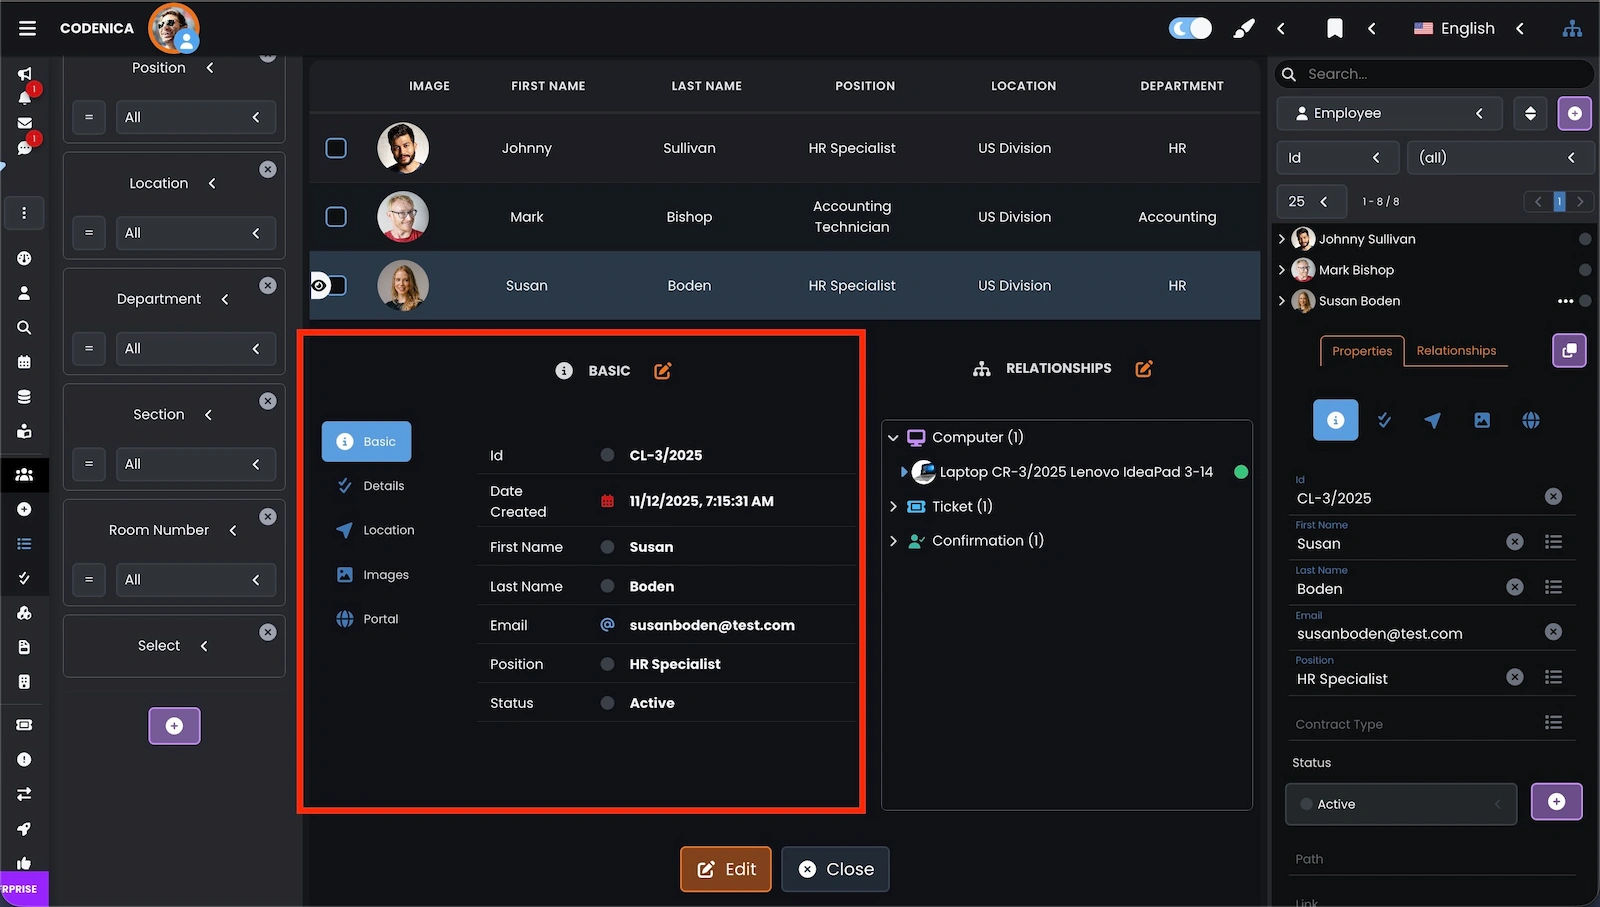
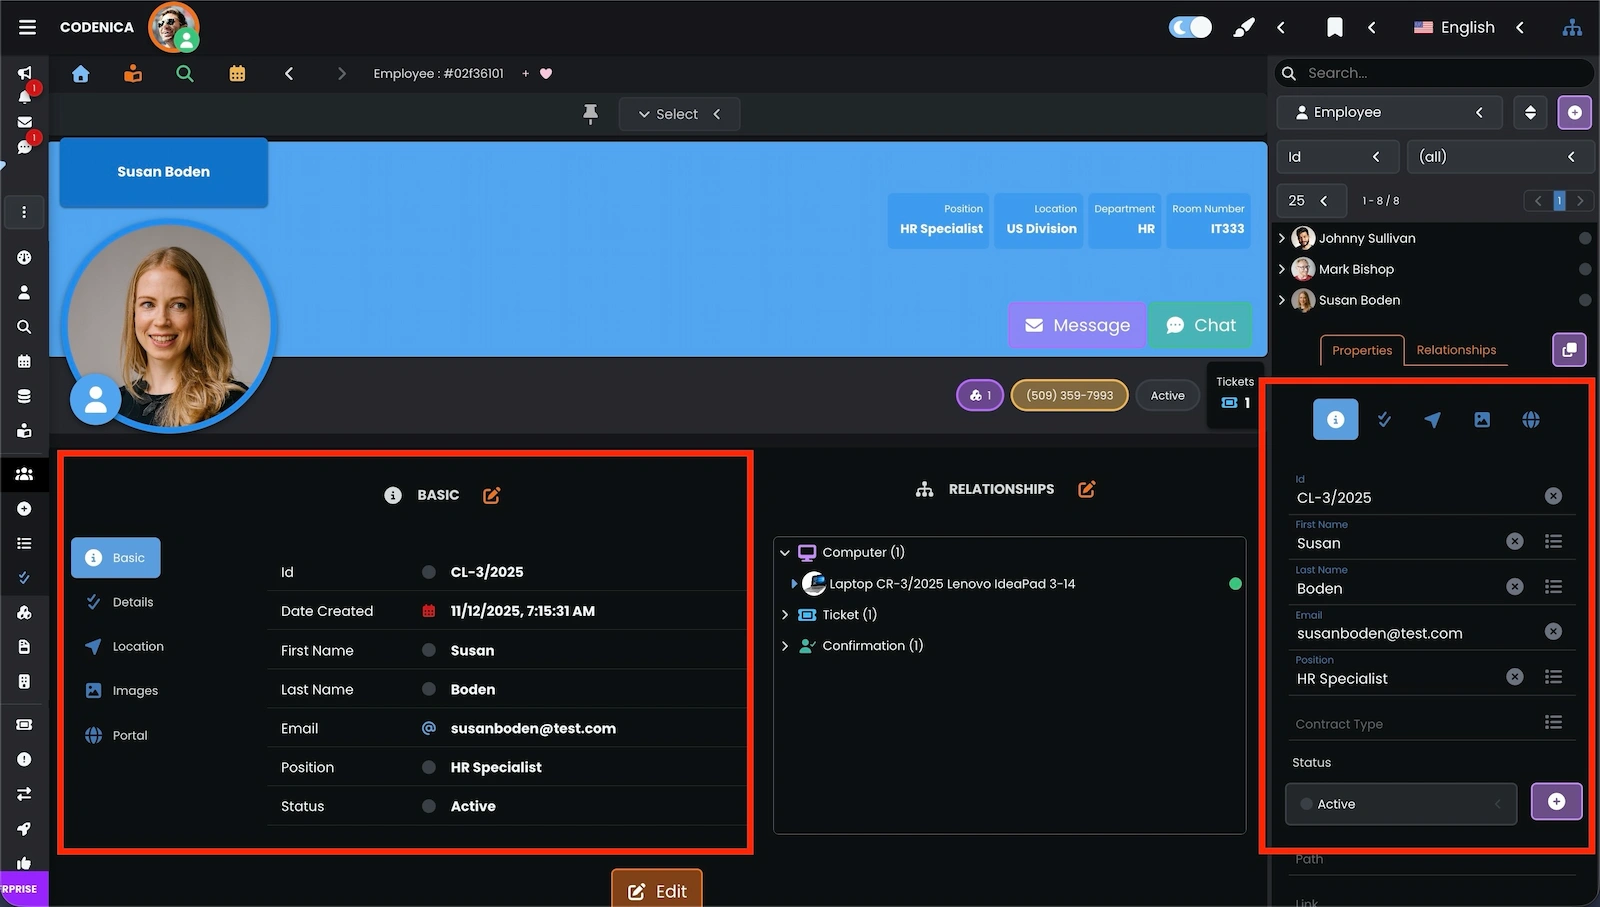
Configuring object properties in asset management and the ticketing system
As shown in the screenshots above, object properties are present across the entire system. That is why it is important to configure Codenica in a way that reflects your actual workflow and internal procedures. Below we walk through the configuration process step by step.
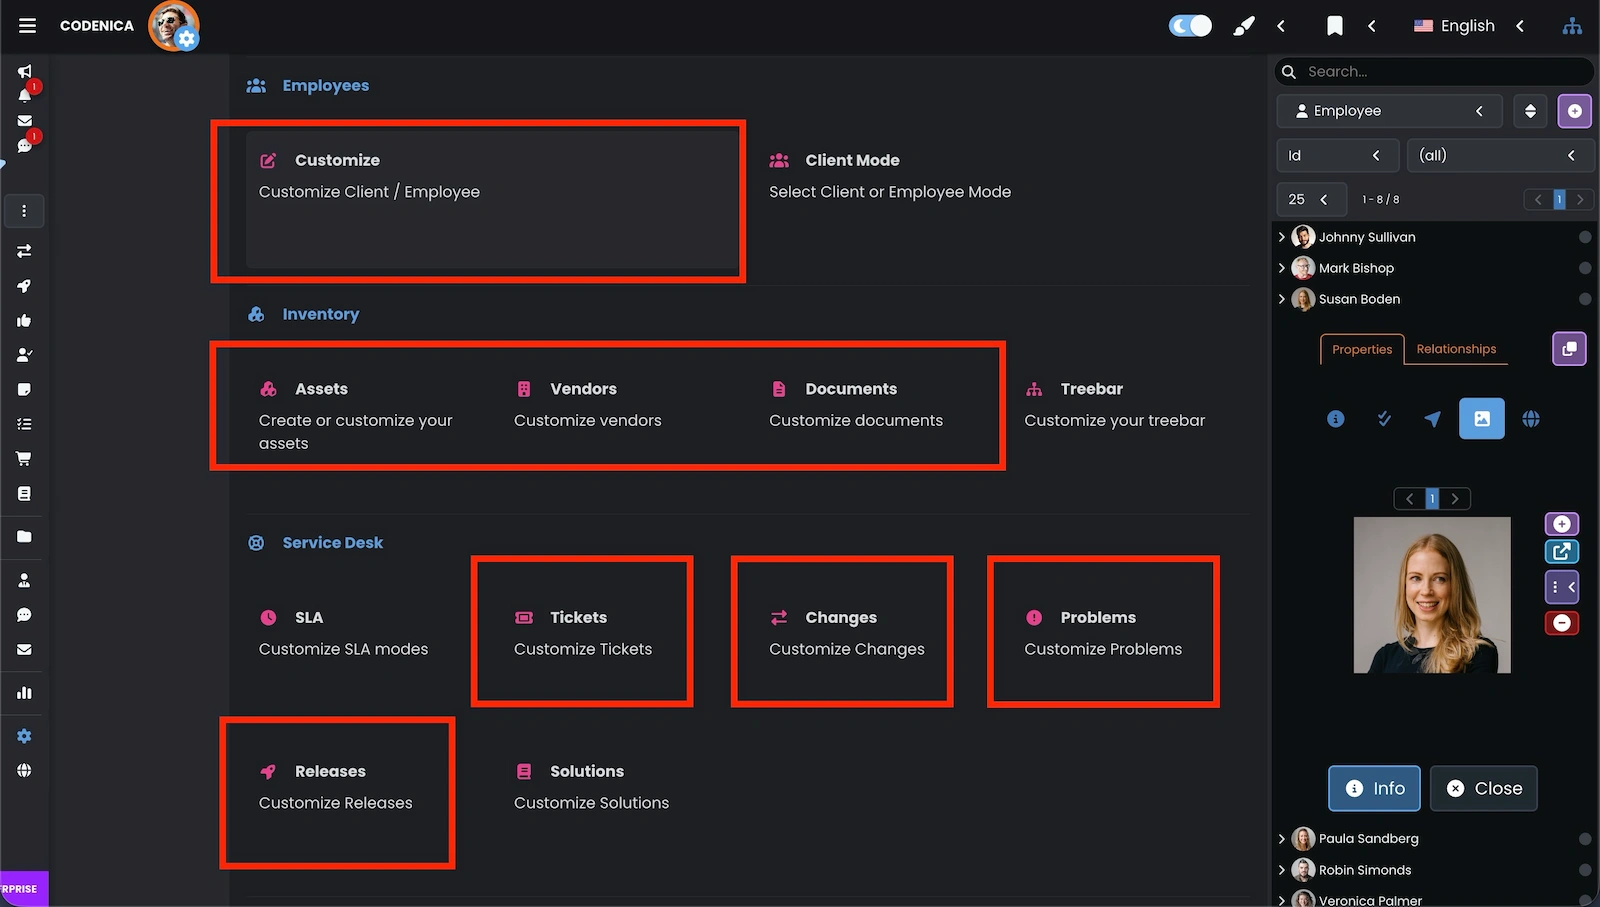
You can customize object properties for IT inventory and asset management:
- Employee or Client
- Any asset (computer, device, license, etc.)
- Document records (invoices, warranties, contracts)
- Vendors
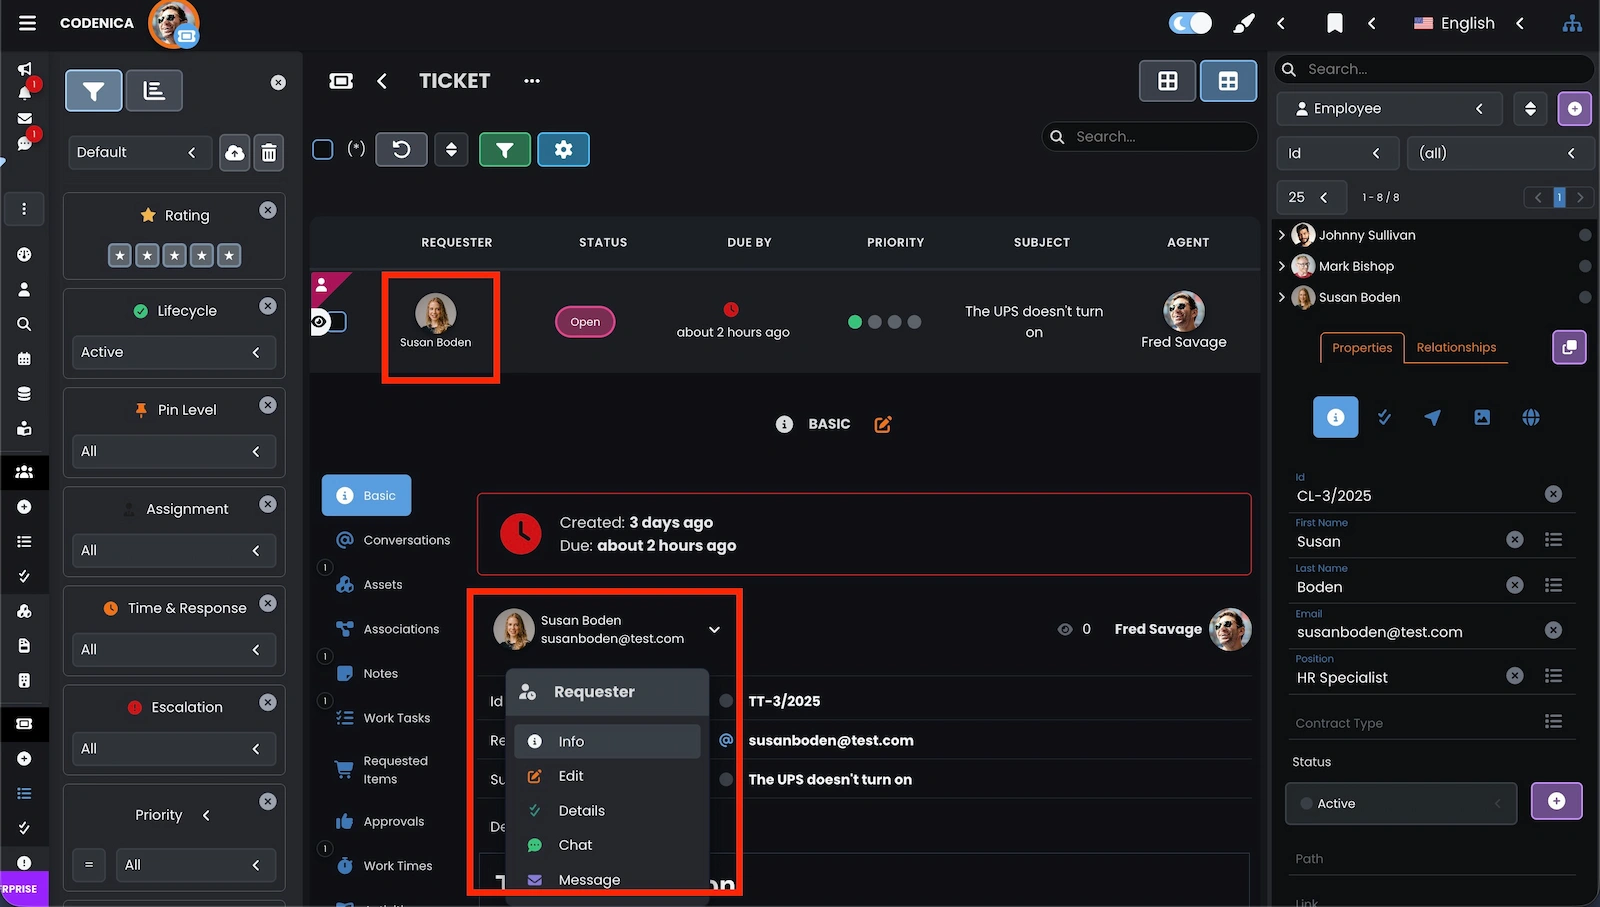
The ticketing and service desk system can also be configured:
- Ticket
- Change
- Problem
- Release
Configuring Employee / Client in asset management
Let’s look at the configuration process using Employee / Client as an example. Other manageable assets (such as computers, devices, software, and licenses), as well as documents (invoices, warranties, contracts) and vendors, are configured in the same way. The ticketing system works slightly differently and is described in a separate manual article.
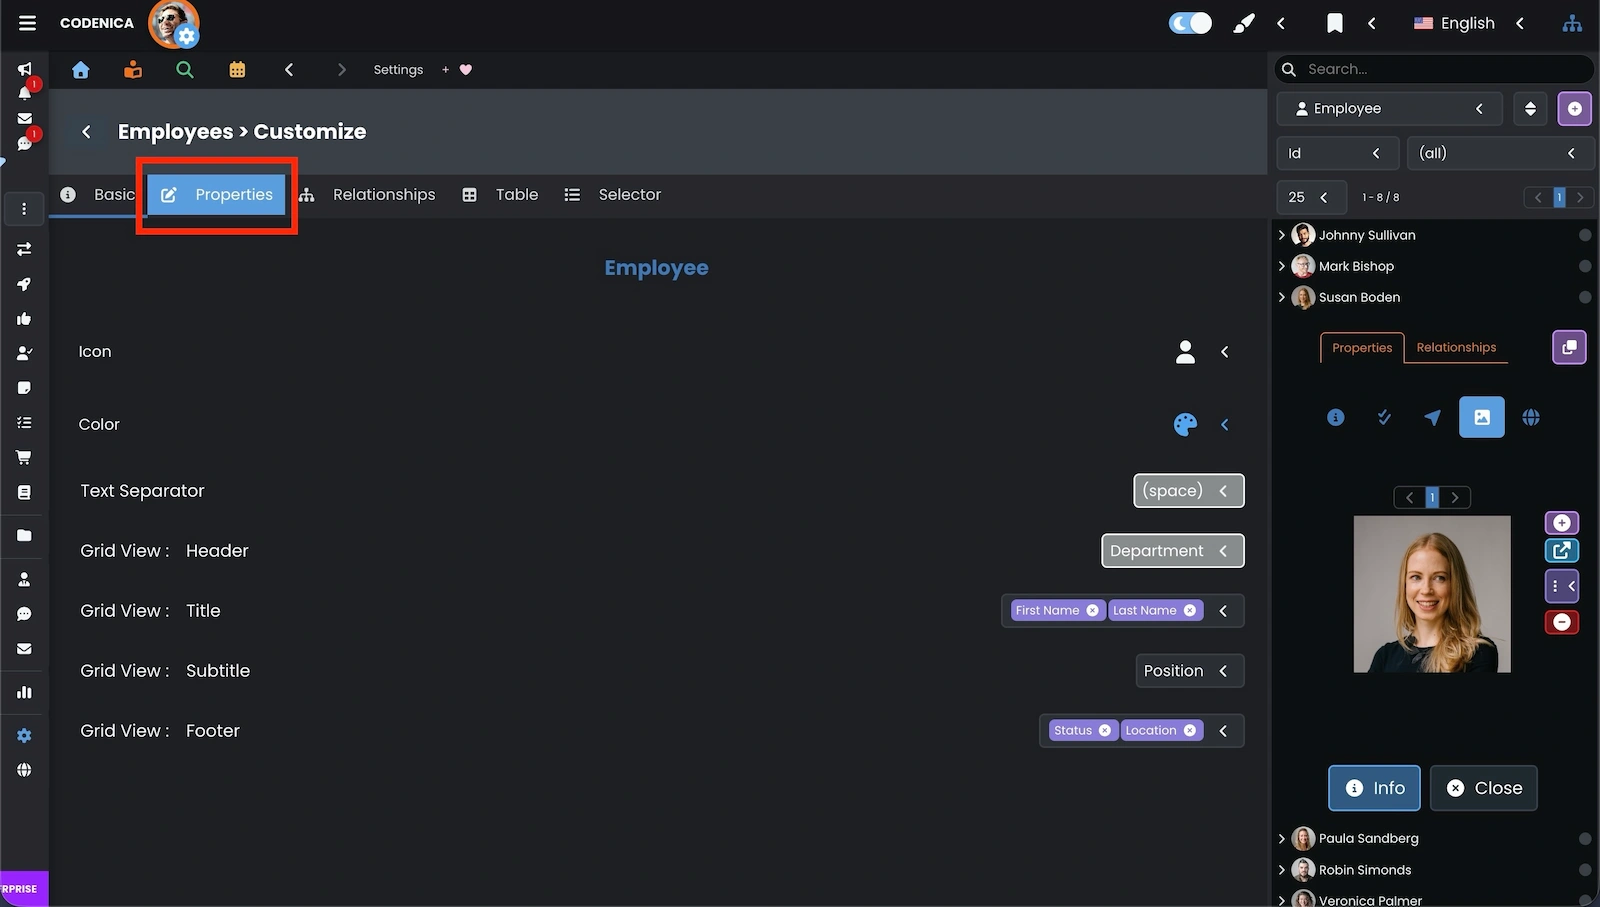
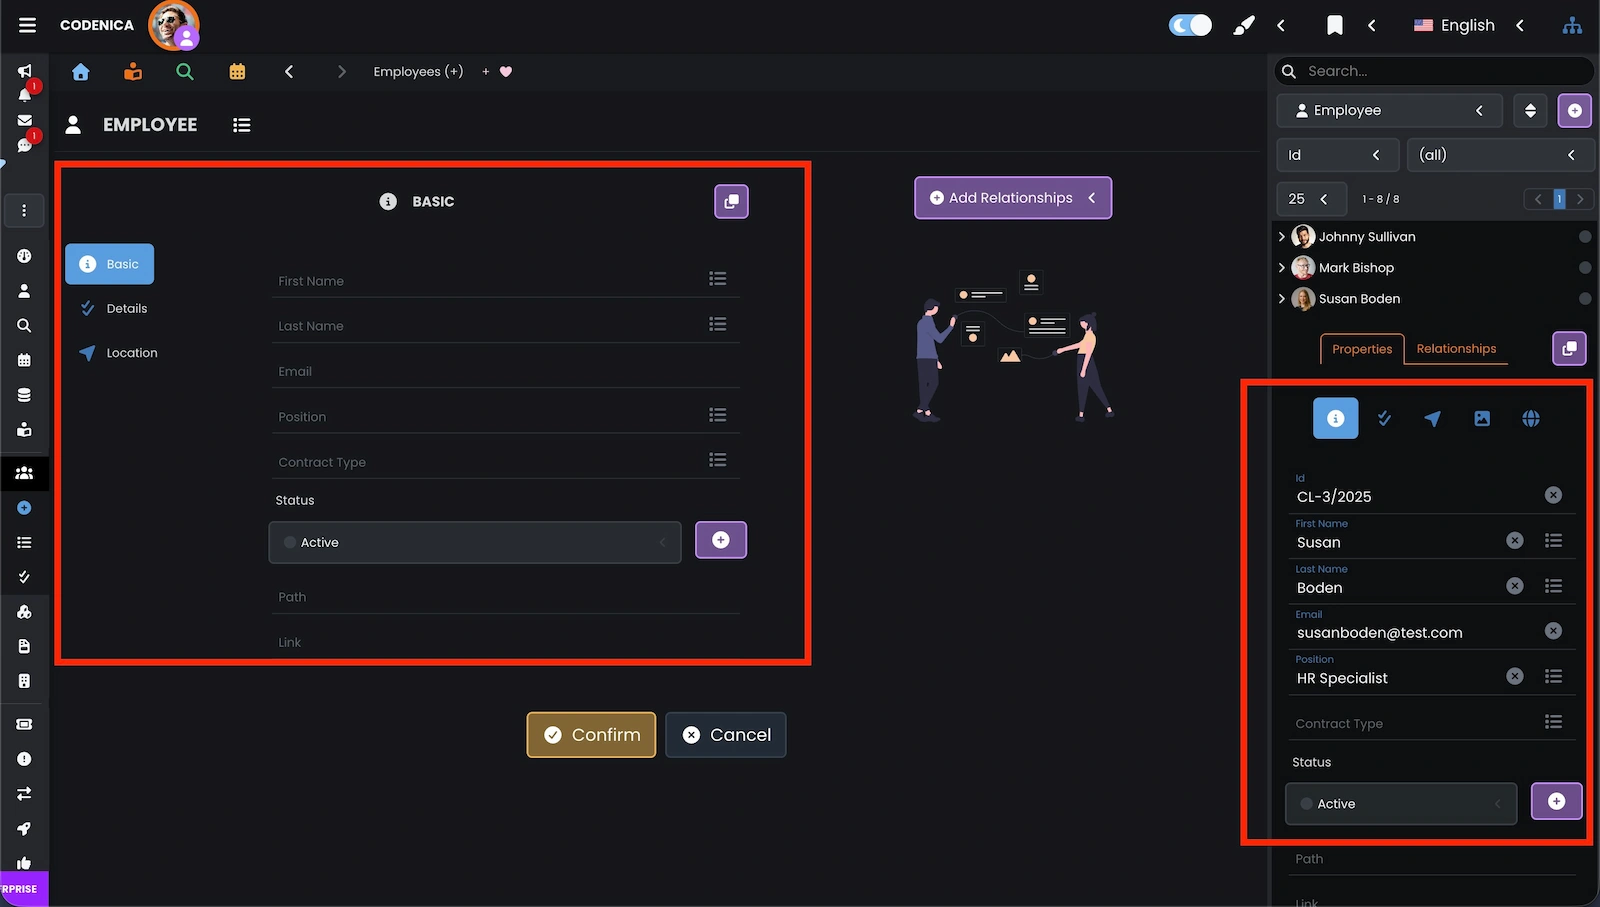
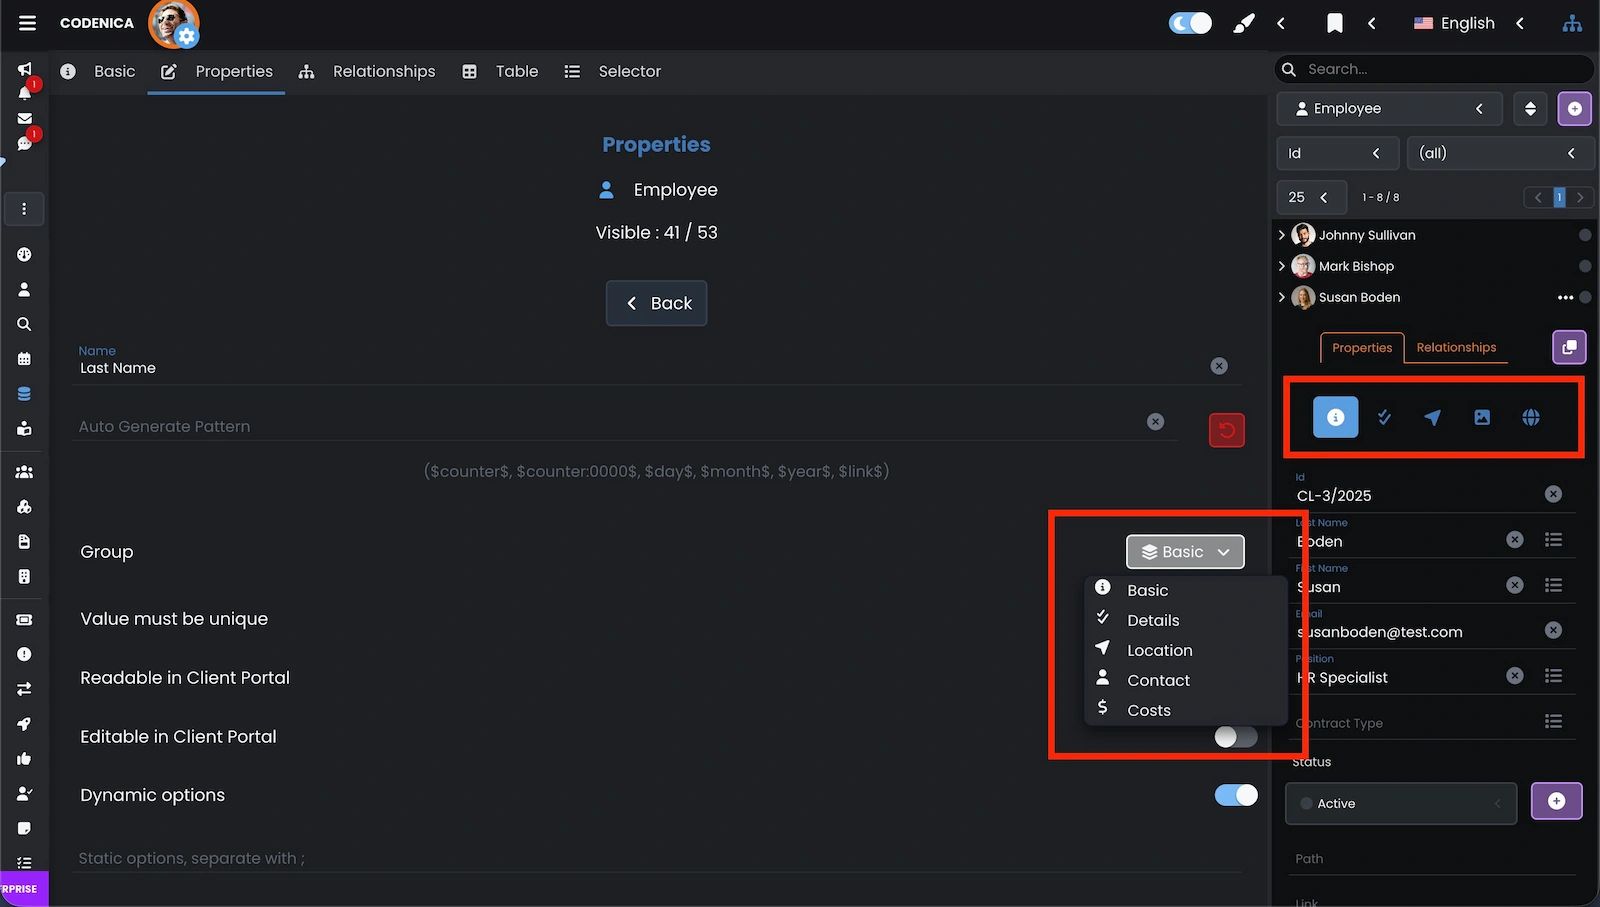
Enabling, disabling, and reordering property fields
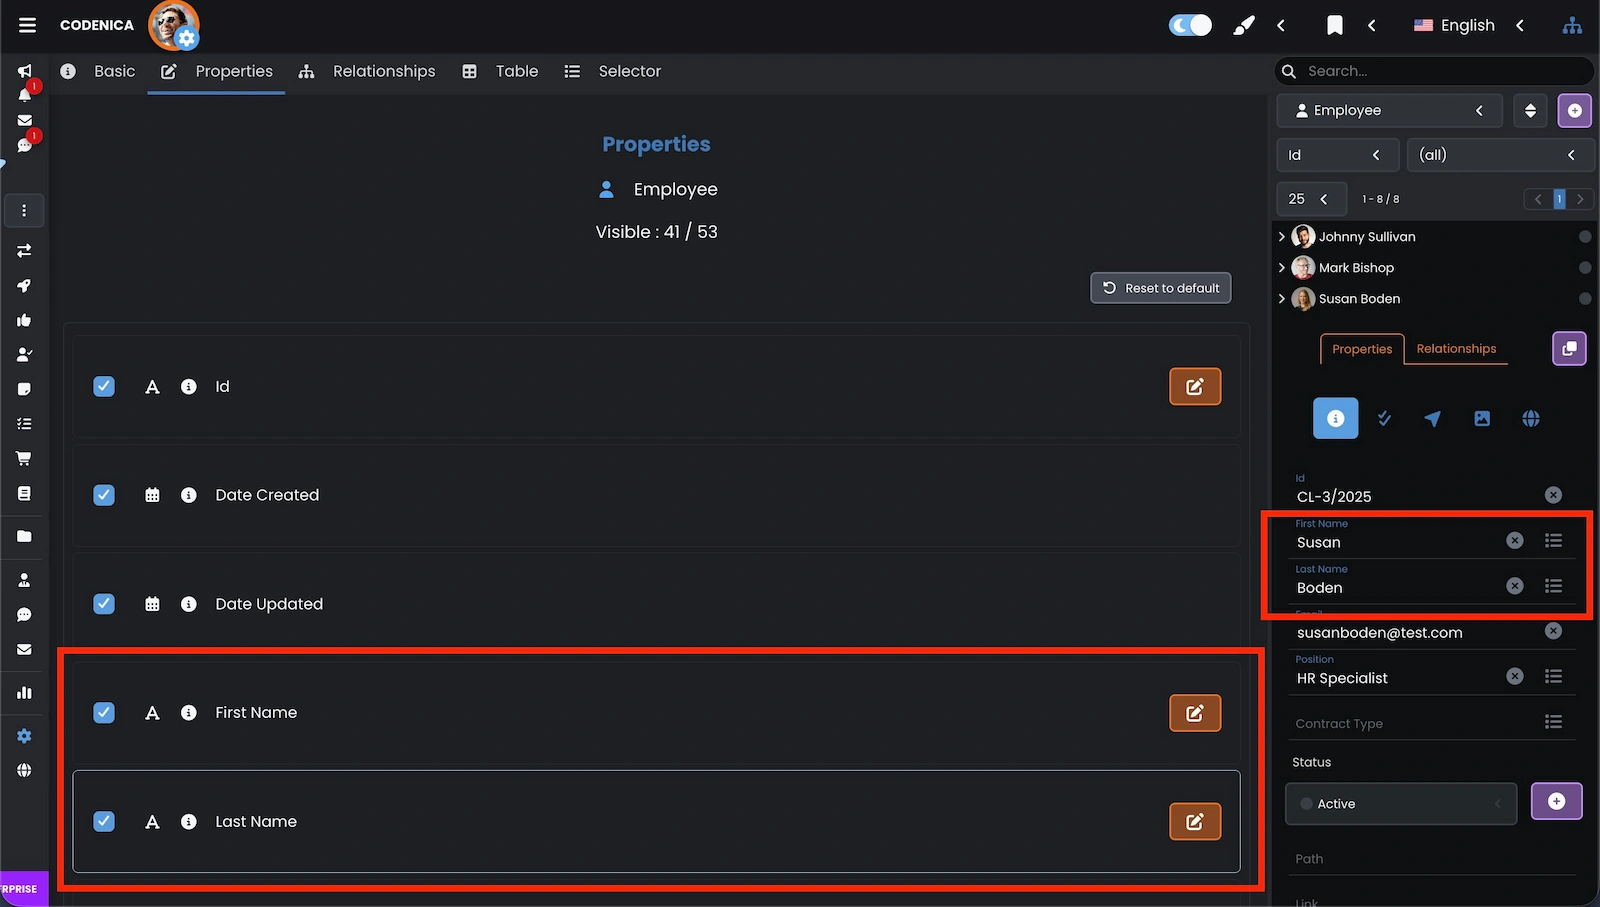
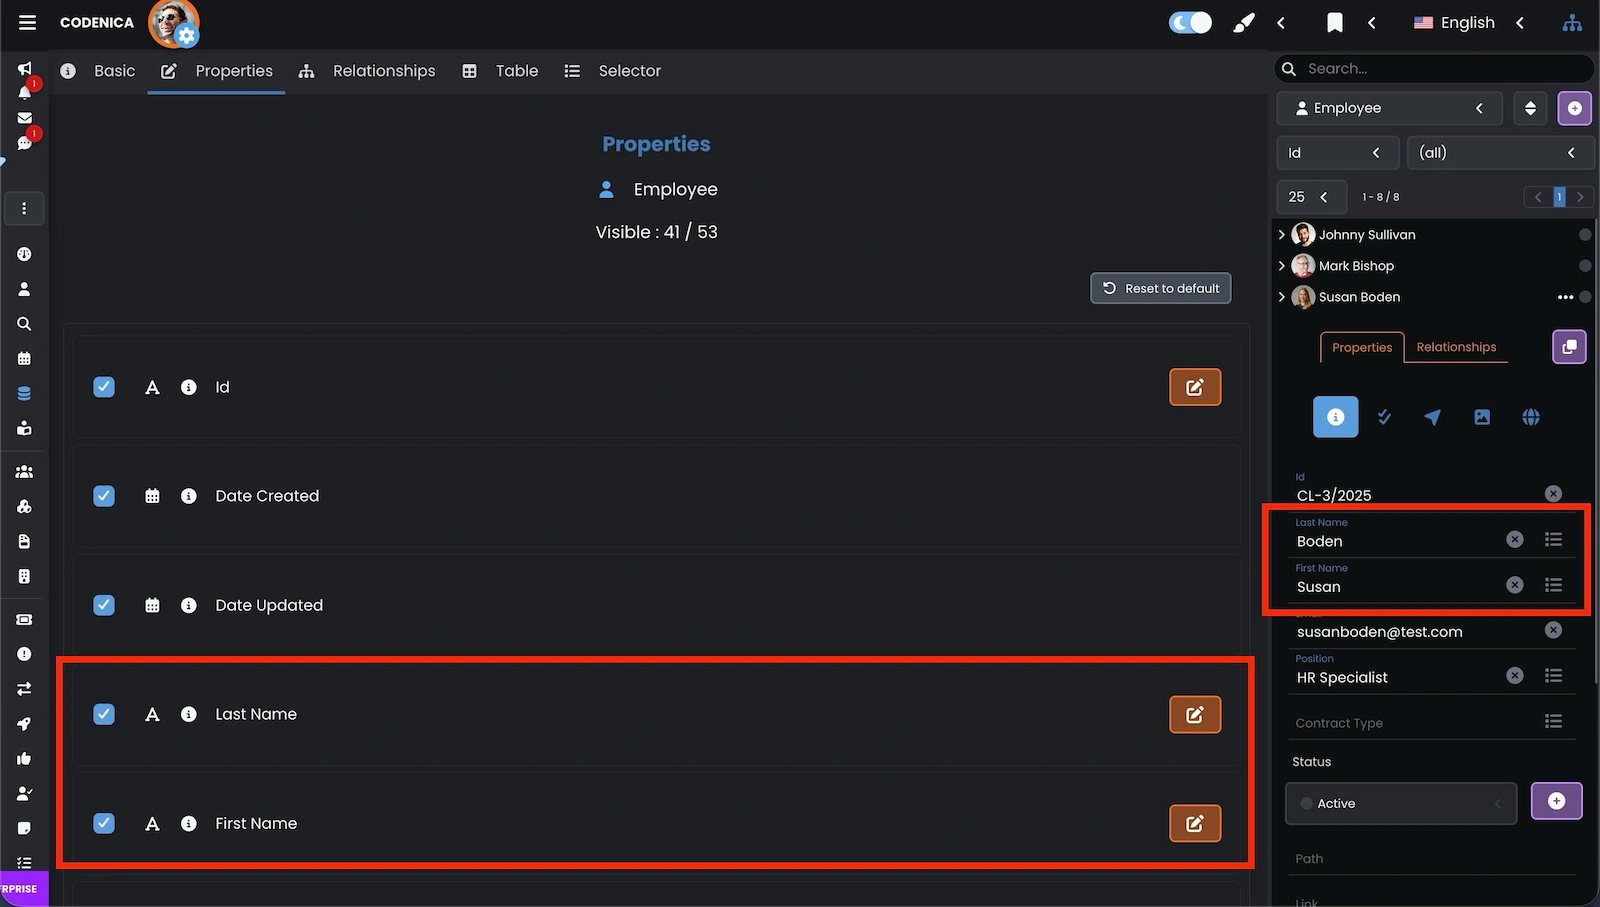
Let’s begin with the basics. In the window below, we see that the Employee object has 41 visible (enabled) fields out of 53 available. You can enable or disable each property using its checkbox - and what’s equally important - you can change the order of fields.
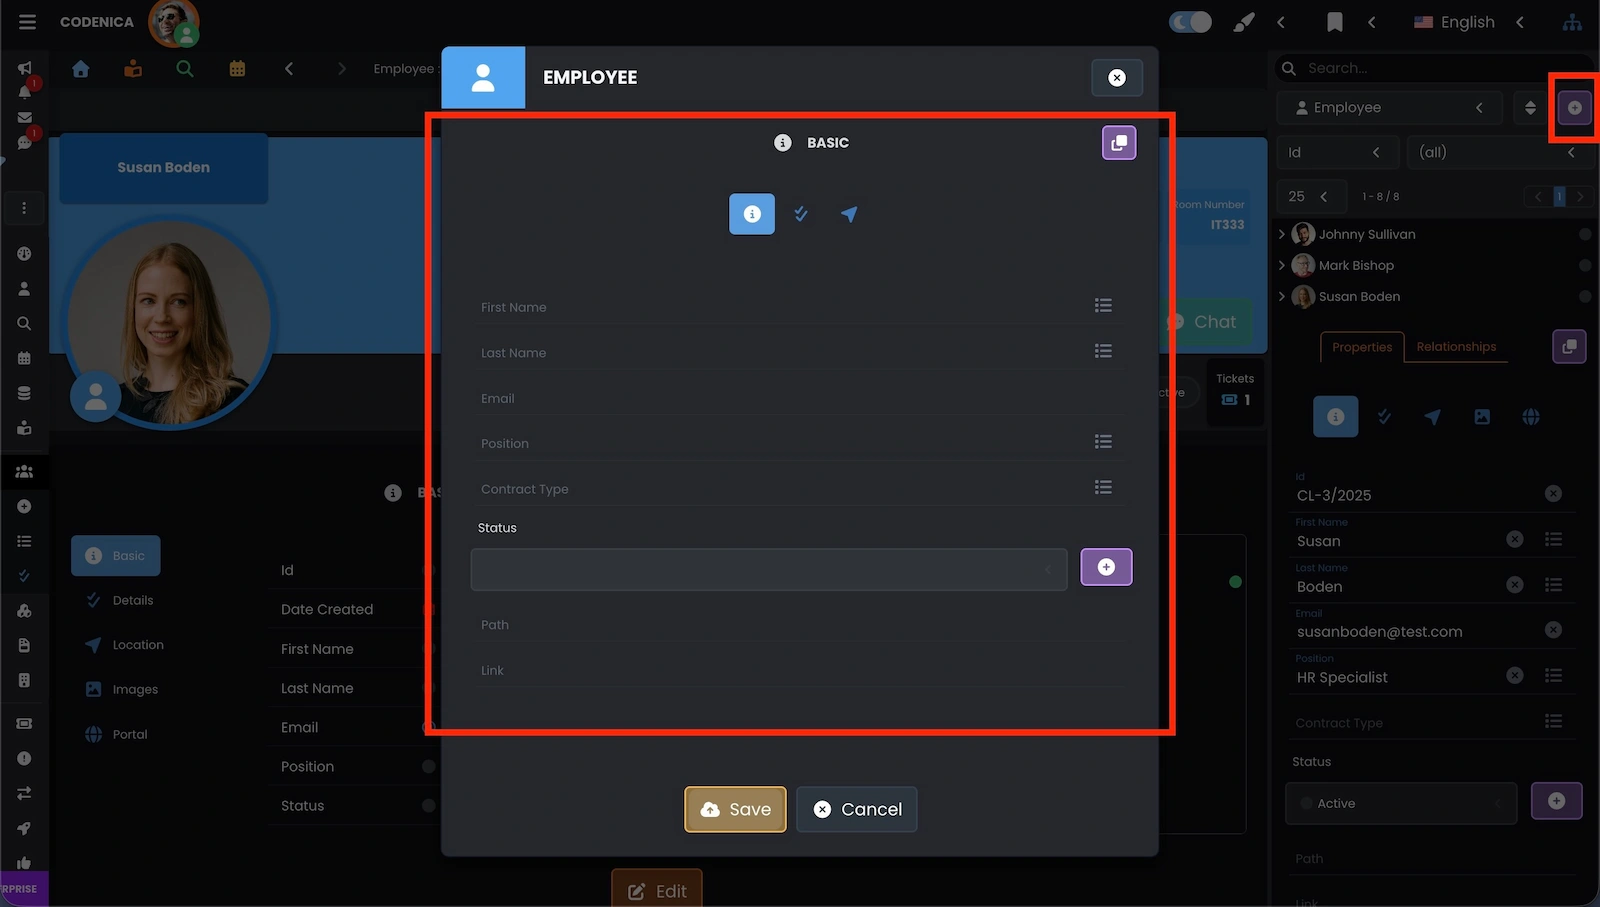
Advanced property configuration
To start advanced configuration of any property field, click the Edit button on the right side of the selected field. At any time you can reset all settings for the model (asset, document, employee / client) using the reset button above the list of fields.
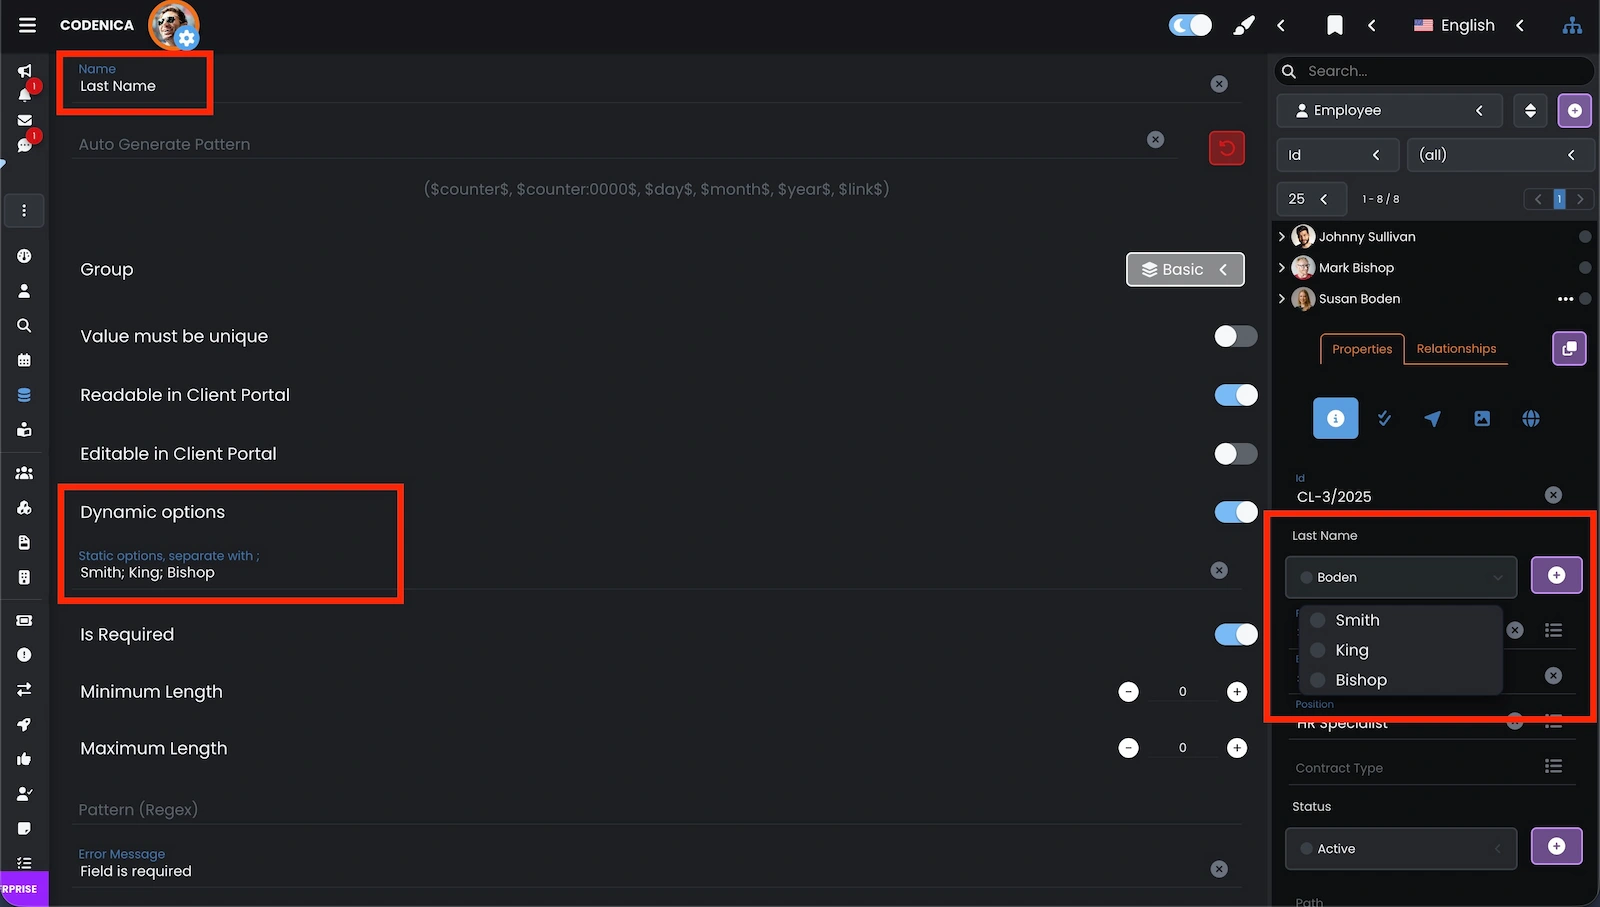
Each property of a manageable object - in inventory, asset management, and the ticketing system - can be precisely customized. Here we explore configuration options for the [Last Name] field of an Employee / Client. Let’s go through the options from top to bottom:
- Name - custom name of the property. English names are translated automatically; custom names remain unchanged.
- Automatic pattern generation - instead of manually entering a value, the field can generate one using variables such as $counter$ (auto-incrementing ID). You can define the format using e.g. $counter:000$ which generates 001 instead of 1. Other variables: $day$, $month$, $year$. The $link$ variable is used mainly for generating QR codes that point to the object’s details in asset inventory or the ticketing system.
- Value must be unique - ensures no duplicate values appear in this field.
- Read-only in Client Portal - makes the value visible to the user logged into the Client Portal.
- Editable in Client Portal - clients usually cannot edit fields; this option enables exceptions.
- Dynamic options - lets you select values dynamically from the database instead of typing them manually.
- Static options - allows creating your own drop-down list (typically used for fields like Status, Category, Type).
- Required - the value must be provided.
- Minimum and maximum length - defines allowed text length.
- Regex - enforces a validation pattern.
- Error message - custom validation message describing acceptable values.
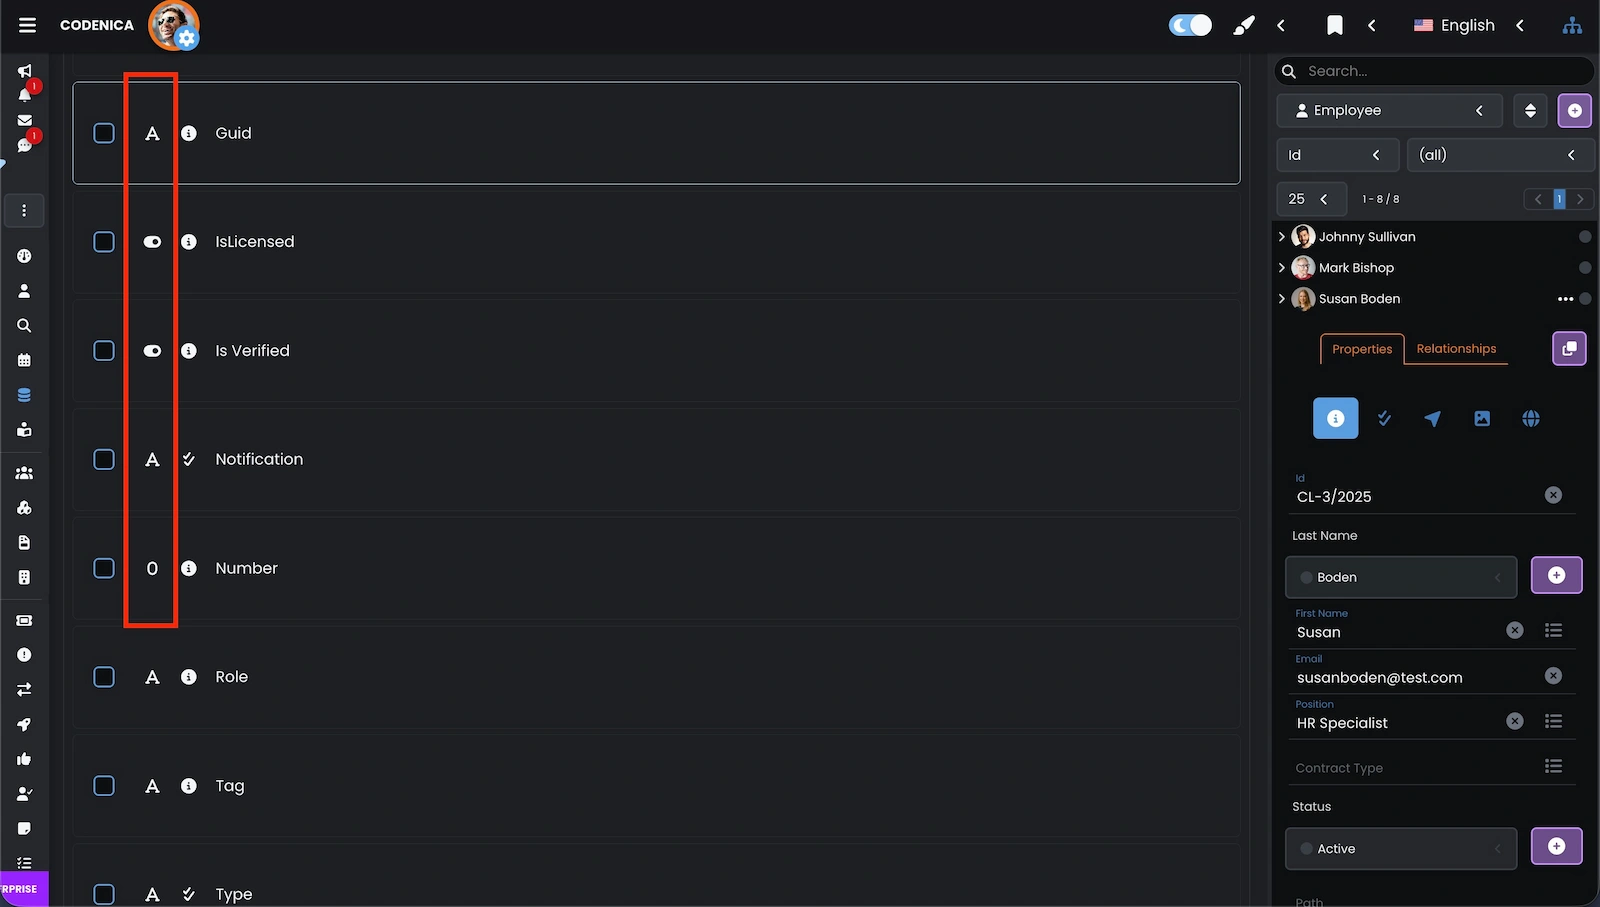
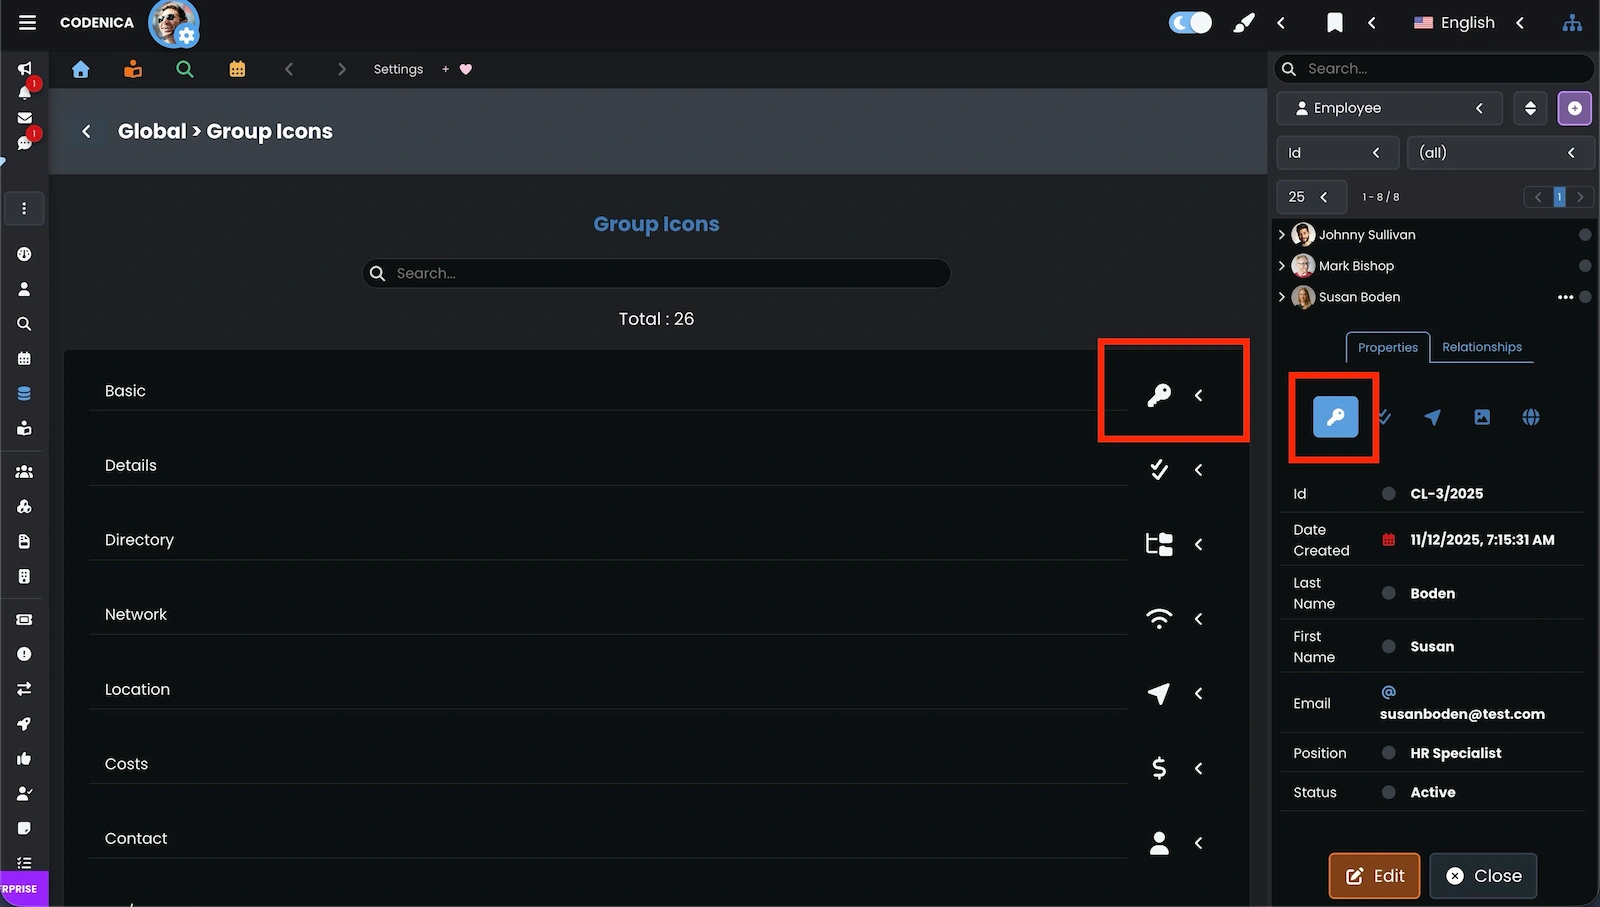
Changing the property group
Every property in inventory and asset management must belong to a logical group, making it easier to manage and organize fields. Below we can see how to move a property between groups.
Changing the group icon
You can also change the icon assigned to a property group and choose the one that best fits your organizational structure.


Summary
Configuring object properties in Codenica allows you to adapt the system to the way your organization actually works. You can decide which fields are visible, in what order they appear, how they are validated, and whether values should be generated automatically. Advanced settings, custom fields, and flexible group management give you full control in both asset inventory and help desk or service desk modules.