
With MFA enabled, signing in takes a second step. After entering your password, you confirm it’s you with an authenticator code, a passkey, or a security key. The method depends on what your administrator has set up.
Turn on MFA
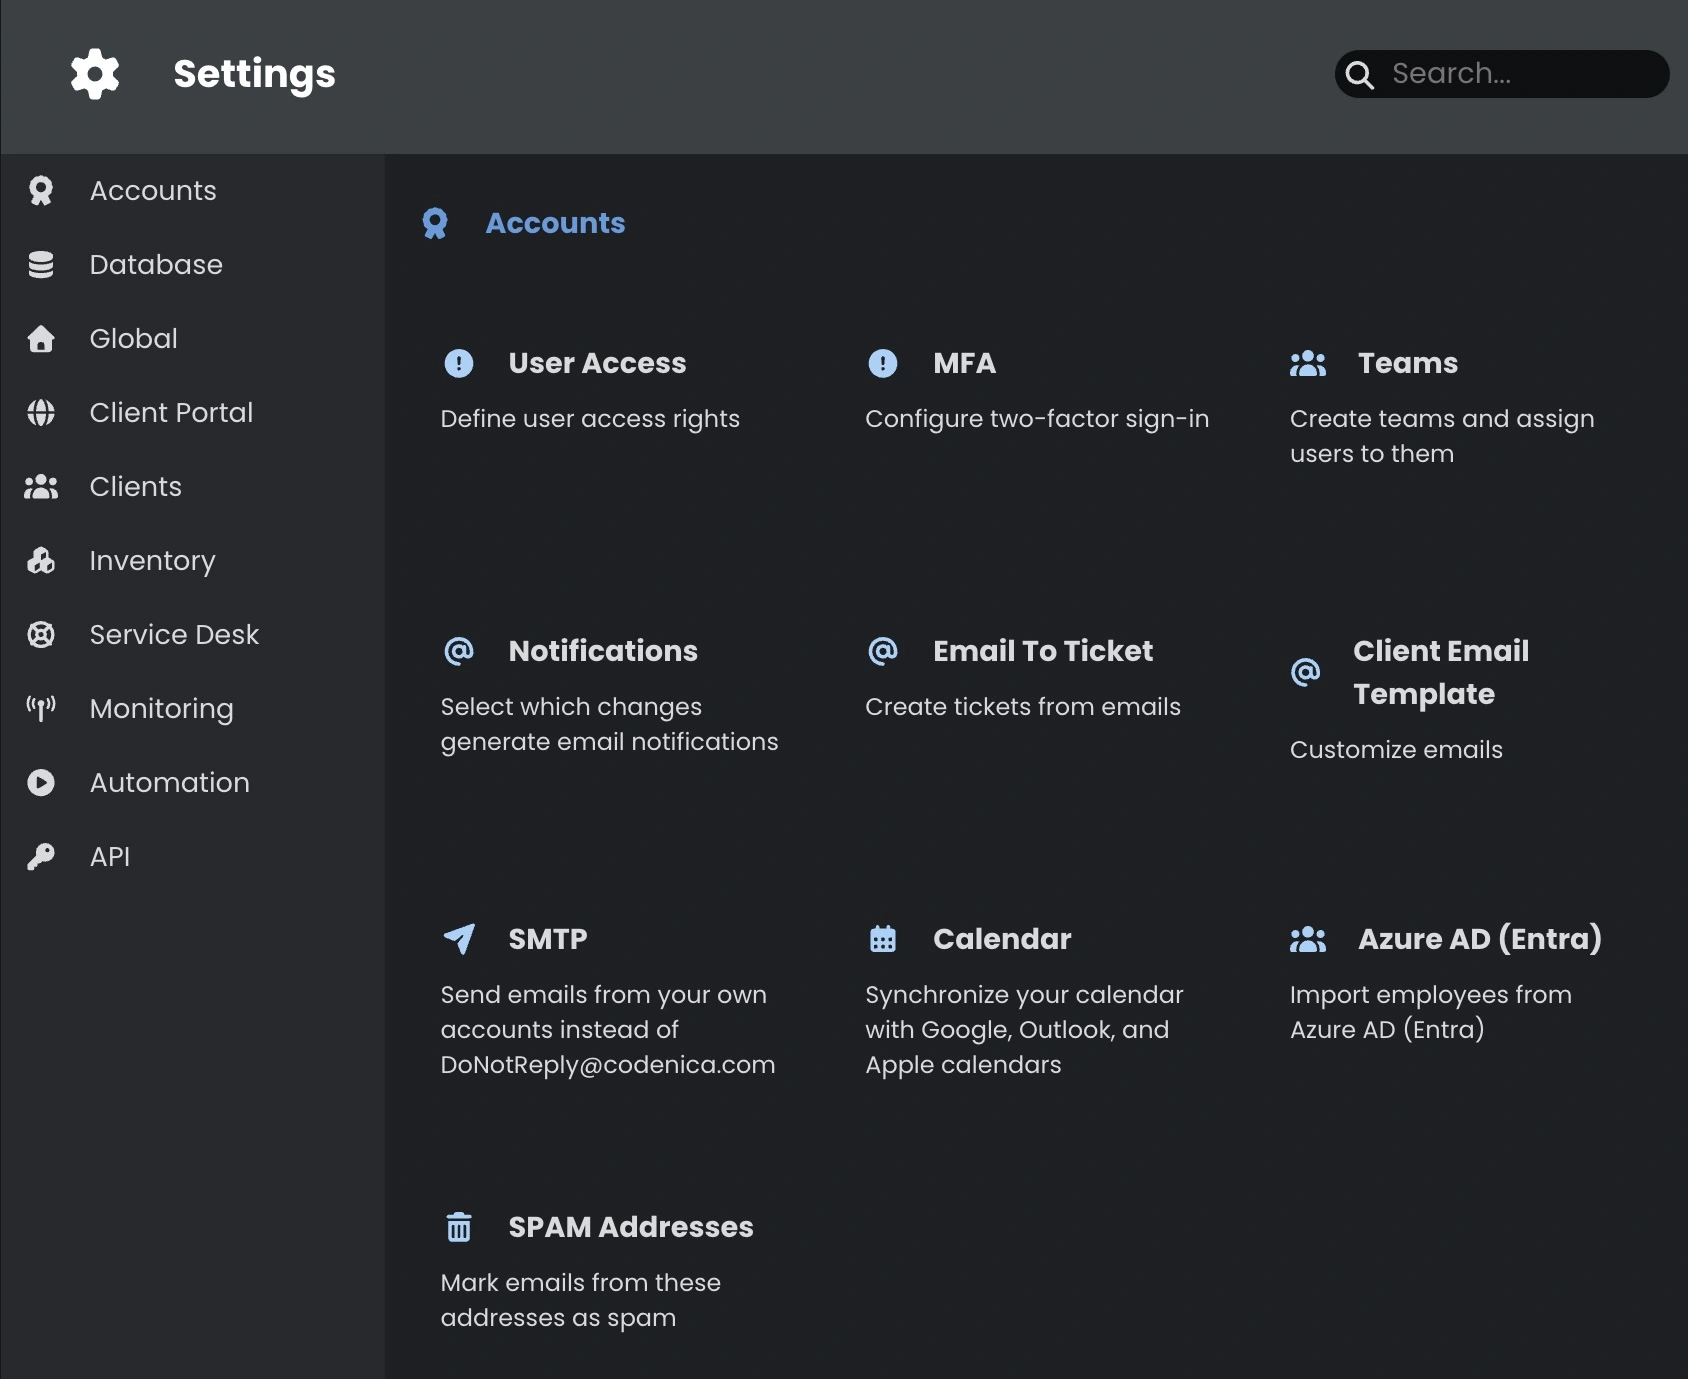
- Sign in as an administrator and open Settings → Accounts → MFA.
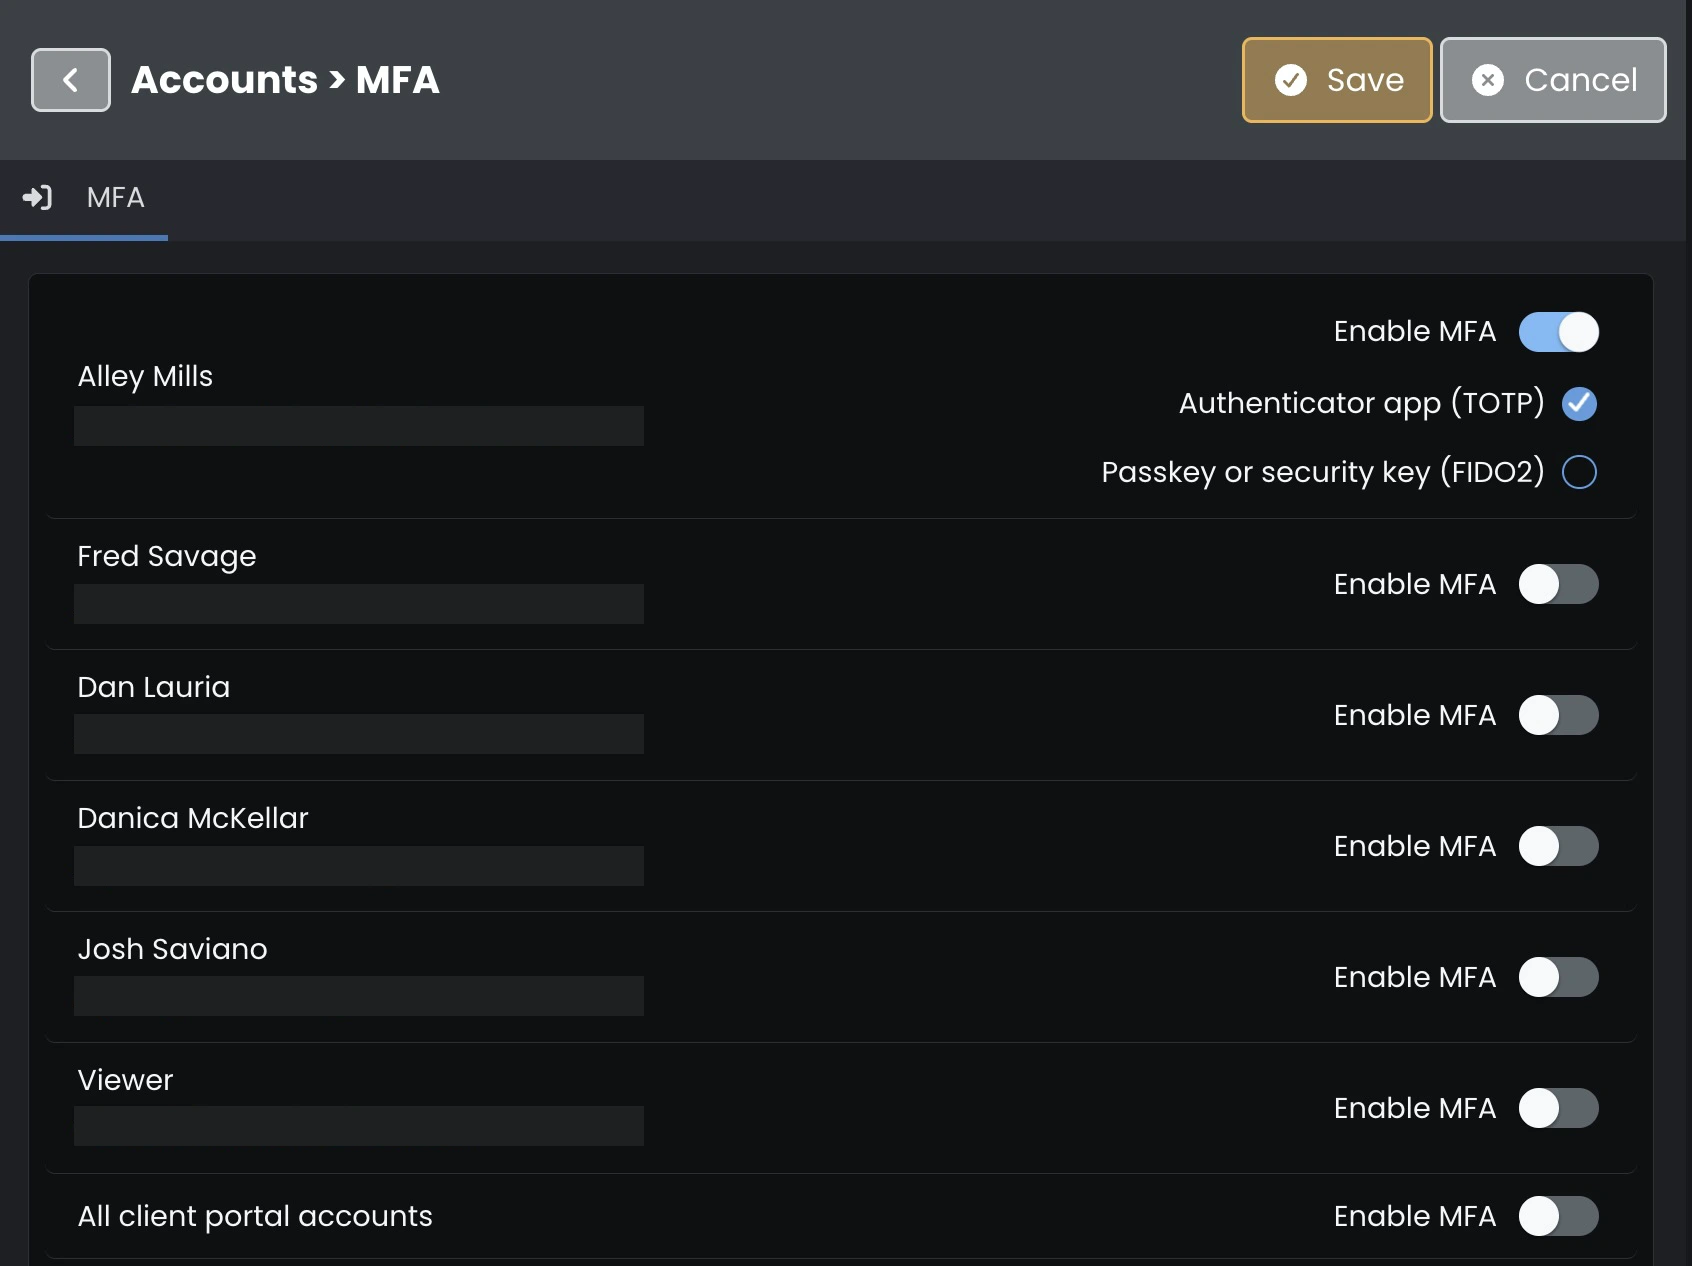
- Find the account and switch on Enable MFA.
- Choose a sign-in method.
- Click Save in the top right.
You can set MFA separately for each Administrator, Agent, or Viewer account. Use All client portal accounts to set a single method for everyone who signs in to the client portal.
Choose a method
Authenticator app (TOTP)
At the first sign-in, follow the setup prompts. Scan the QR code in your authenticator app or enter the setup key manually. Then type the six-digit code the app shows you.
For future sign-ins, enter the current code from the app. If Codenica shows recovery codes after setup, store them somewhere safe. Each code works once and can help if you lose access to the app.
Passkey or security key (FIDO2)
Register a key when prompted at your first sign-in. On later sign-ins, follow the browser prompt. Depending on your device, you might use a fingerprint, face recognition, a PIN, or a physical security key.
FIDO2 is available in Codenica Cloud. For On-Premise, choose the authenticator app (TOTP).
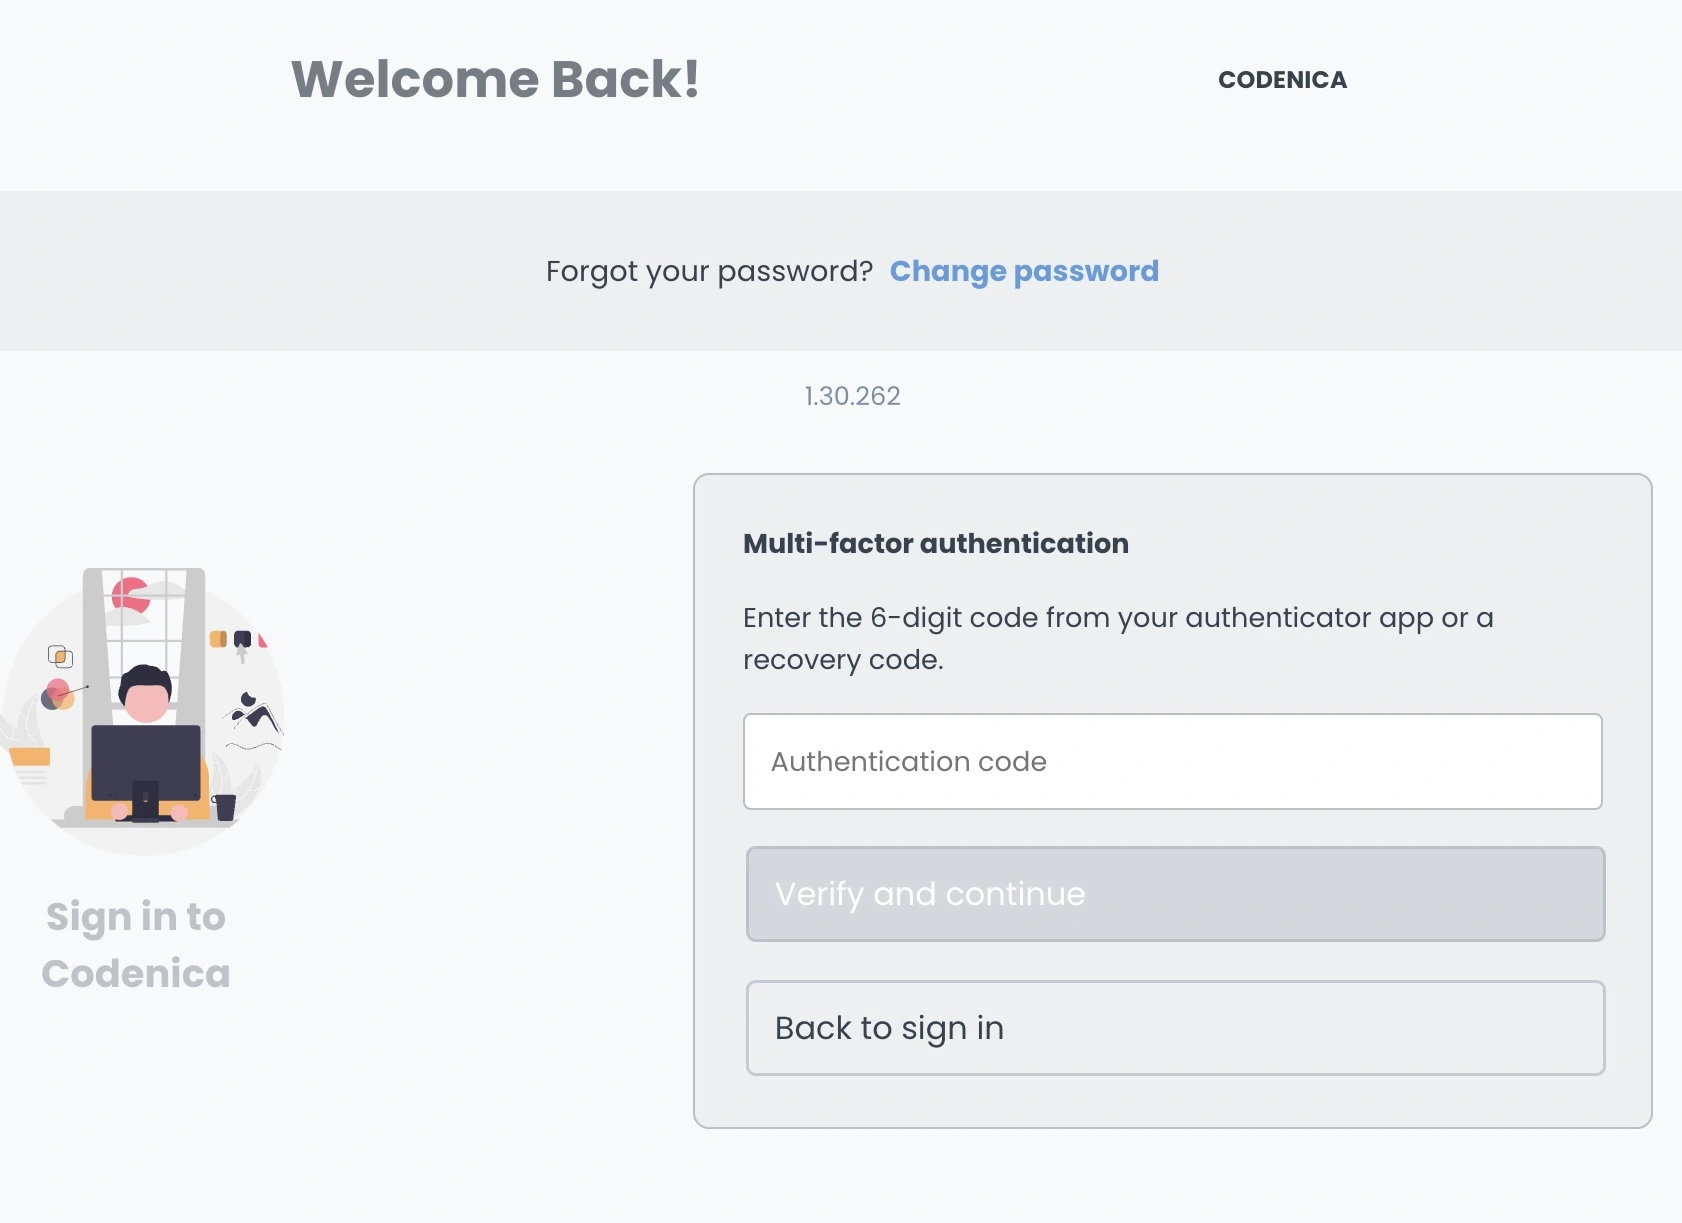
Example: signing in with an authenticator code
This screen shows the TOTP step after the authenticator app is set up. Enter the current six-digit code under Authentication code and select Verify and continue. If you can’t use the app, enter one of your saved recovery codes in the same field.